Ambient occlusion アンビエントオクルージョン
// https://iquilezles.org/articles/nvscene2008/rwwtt.pdf
float calcAO(in vec3 position, in vec3 normal)
{
    float occlusion = 0.0;
    float attenuation = 1.0;

    for (int i = 0; i < 5; i++)
    {
        float sampleDistance = 0.01 + 0.12 * float(i) / 4.0;
        float surfaceDistance = map(position + sampleDistance * normal).x;
        occlusion += (sampleDistance - surfaceDistance) * attenuation;
        attenuation *= 0.95;
        if (occlusion > 0.35) break;
    }

    return clamp(1.0 - 3.0 * occlusion, 0.0, 1.0) * (0.5 + 0.5 * normal.y);
}
This function calculates the ambient occlusion (AO) effect, which simulates how light has a harder time reaching surfaces near other objects, especially in concave areas, crevices, and corners.
この関数は、アンビエントオクルージョン(AO)効果を計算します。これは、光が他のオブジェクトの近くの表面、特に凹面や隙間、角などに到達するのが難しくなる様子をシミュレートします。
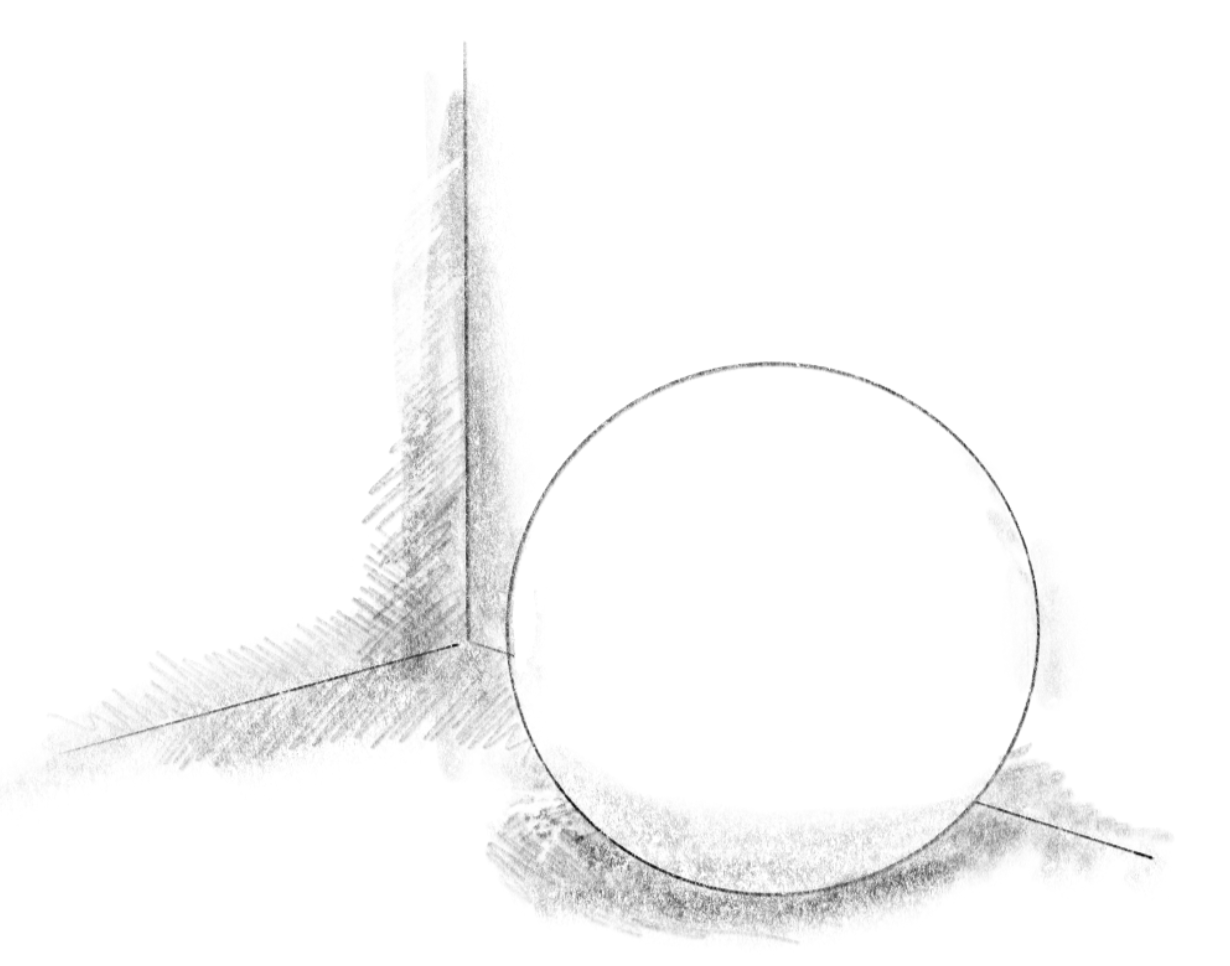
Ambient occlusion is typically applied to ambient or diffuse lighting from broad sources, like the sky, where light bounces around and reaches surfaces from multiple directions. The narrower the paths for light, the less light the surface receives.
アンビエントオクルージョンは通常、空のような広範囲の光源からの環境光や拡散光に適用されます。これらの光源では、光が様々な方向から跳ね返ってオブジェクトに到達します。光の通り道が狭くなればなるほど、面が受け取る光の量は少なくなります。
In the demo, try toggling the ambient occlusion on and off to test its effect. Since ambient occlusion is applied to both sky and backlight, viewing them separately can also help you see it clearly.
デモ上で、Ambient occlusionのオン/オフを切り替えて、効果を確認してみてください。アンビエントオクルージョンは Sky と Backlight の両方に適用されているので、それぞれを個別に見ると、よりわかりやすいでしょう。
Sampling
サンプリング
The code logic is relatively simple. Imagine a probe shot from the surface in the normal direction. This probe will measure the distances to the closest surface as it goes. The nearer the distances, the more occluded the place is. If the area around the surface is open, the distances should quickly increase.
コードのロジックは比較的シンプルです。オブジェクトの表面から法線の方向に探査艇を送り出すことを想像してください。この探査艇は進みながら、最も近い表面までの距離を測定します。距離が近いほど、その場所はより遮蔽されています。表面周辺の領域が開けている場合、距離は急速に増加するはずです。
In the code, occlusion is the variable to accumulate the amount of the occlusion. This starts from zero.
コード内の occlusion が遮蔽量を蓄積する変数です。これは0から始まります。
In the for loop, the function moves this probe for each step.
for ループ内で、ステップごとにこの探査艇を移動させます。
float sampleDistance = 0.01 + 0.12 * float(i) / 4.0;
For each point, the function uses the map() function to determine the distance to the closest surface. sampleDistance matches the distance to the surface from which the probe started, so it will never be smaller than surfaceDistance. If surfaceDistance is less than sampleDistance, it means there’s an obstruction closer than the starting surface, so we accumulate occlusion accordingly.
ポイントごとに、この関数はmap()関数を使って最も近い表面までの距離を求めます。sampleDistance は探査艇がスタートした面までの距離に一致するので、surfaceDistanceより小さくなることはありません。surfaceDistanceがsampleDistanceより小さい場合、最初の面よりも近くに障害物があるので、相応して遮蔽量の値を貯めていきます。
float surfaceDistance = map(position + sampleDistance * normal).x;
occlusion += (sampleDistance - surfaceDistance) * attenuation;
.
attenuation reduces with each sample, simulating diminishing influence at greater distances.
The loop breaks early if occlusion goes over 0.35 to ensure it doesn’t become too dark and to reduce the amount of processing.
attenuation はサンプルごとに減少し、距離が増すほど影響が小さくなるようにしています。暗くなりすぎないようにするためと処理量を減らすために、occlusionが0.35を超えたらループを早めに終了します。
attenuation *= 0.95;
if (occlusion > 0.35) break;
The last part maps occlusion to a brightness multiplier (1.0 means no occlusion, 0.0 is the darkest). The (0.5 + 0.5 * normal.y) is a little trick to give surfaces facing upward a lighter appearance to reflect the fact that most of the light in this demo is coming from the sky.
最後の部分は、occlusionの値を明るさの係数にマッピングします(1.0は遮蔽なし、0.0は最も暗い状態を意味します)。(0.5 + 0.5 * normal.y)は、このデモでは光のほとんどが空から来ているという事実を反映して、上向きの面をより明るく見せるためのちょっとしたトリックです。
return clamp(1.0 - 3.0 * occlusion, 0.0, 1.0) * (0.5 + 0.5 * normal.y);