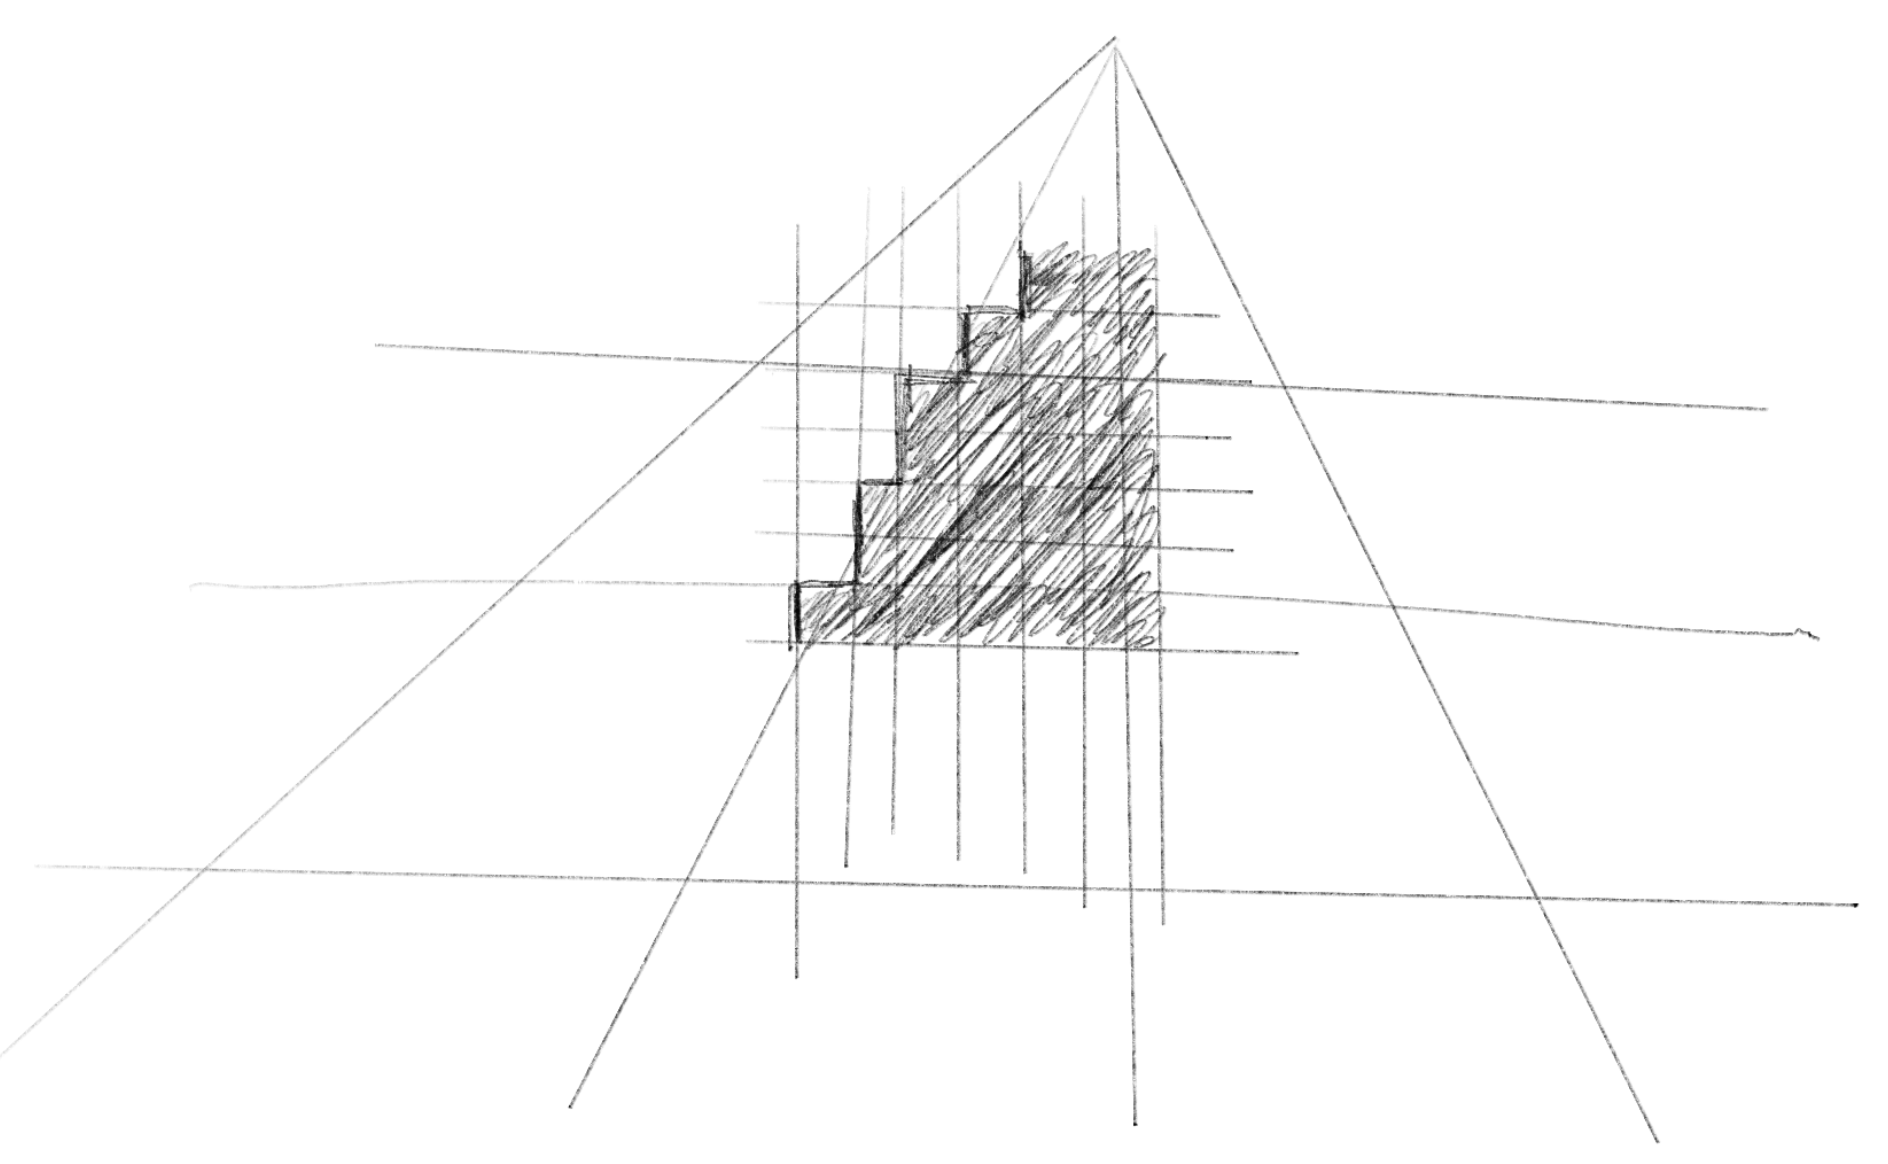
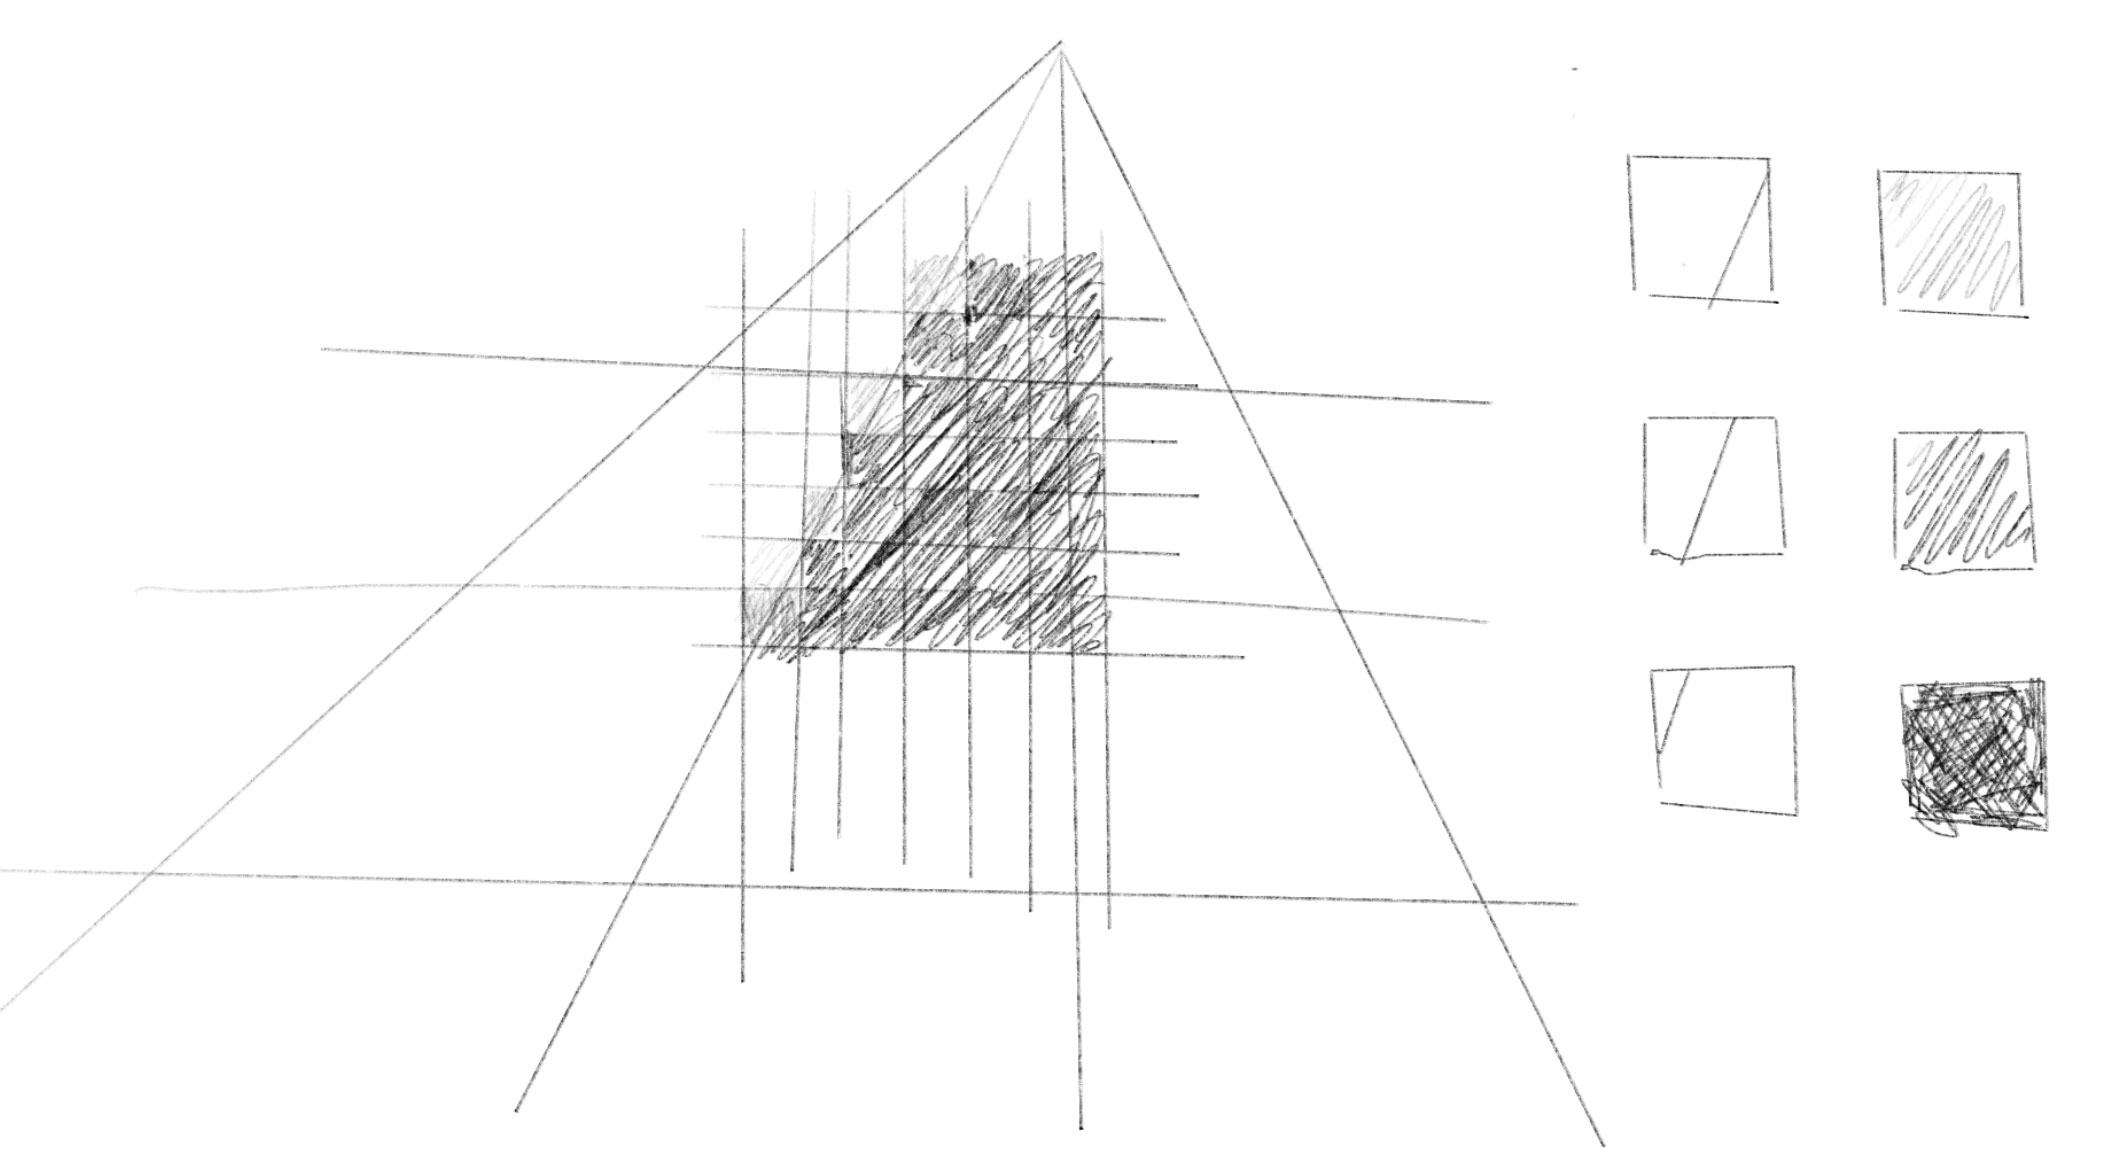
Drawing the checker pattern チェック模様を描く
// Check if the hit was on a plane and calculate texture-based color.
if (materialId < 1.5){
	vec3 pixelFootprintX = cameraPosition.y * (rayDirection / rayDirection.y - rayDirectionXOffset / rayDirectionXOffset.y);
	vec3 pixelFootprintY = cameraPosition.y * (rayDirection / rayDirection.y - rayDirectionYOffset / rayDirectionYOffset.y);

  float checkerPattern = checkersGradBox(3.0 * intersectionPoint.xz, 3.0 * pixelFootprintX.xz, 3.0 * pixelFootprintY.xz);
  color = 0.15 + checkerPattern * vec3(0.05);
  specularStrength = 0.4;
}
// https://iquilezles.org/articles/checkerfiltering
float checkersGradBox( in vec2 p, in vec2 dpdx, in vec2 dpdy )
{
    // filter kernel
    vec2 w = abs(dpdx)+abs(dpdy) + 0.001;
    // analytical integral (box filter)
    vec2 i = 2.0*(abs(fract((p-0.5*w)*0.5)-0.5)-abs(fract((p+0.5*w)*0.5)-0.5))/w;
    // xor pattern
    return 0.5 - 0.5*i.x*i.y;
}
This part of the code calculates the color of the checkerboard pattern on the floor. The basic idea is to look at the coordinate where the ray intersects with the floor (intersectionPoint) and decide which area of light gray or dark gray the point belongs to. However, because we have only one ray per pixel, the color of the intersection becomes binary, either light or dark, resulting in aliased or ragged edges.
このコードの部分では、床のチェック模様の色を計算します。基本的な考え方としてはレイが床と交差する座標(intersectionPoint)を見て、その点が明るいグレーか暗いグレーのどちらの領域に属するかを決めます。ですが、レイは1ピクセルにつき1本しかないため、交差点の色は明るいか暗いかの2値になり、ギザギザしたエッジ(エイリアシング)が生じてしまいます。
Instead, we need to consider the area that each pixel covers, and give middle ground colors on the edges between two colors.
そうではなく、それぞれのピクセルがカバーする領域を考え、2色の境界部分では中間な色を選ぶ必要があります。
To approximate this, we use the derivative of the pixel position and corresponding point in 3D space, i.e., how much the point in 3D changes if you move one pixel in either the x or y direction on the screen. This is what dpdx and dpdy given to the checkersGradBox. To get the derivative between pixels, GLSL offers dFdx() and dFdy() functions, but in this demo, these are calculated from the rayDirectionXOffset and rayDirectionYOffset which represent the direction of rays for the neighboring pixels.
これを近似するために、ピクセル位置とそれに対応する3D空間上の点の微分、つまり画面上でxまたはy方向に1ピクセル移動した際に3D空間上の点がどれだけ変化するかの値を用います。これがcheckersGradBoxに渡されるdpdxとdpdyです。ピクセル間の微分を得るために、GLSLにはdFdx()とdFdy()関数を持っていますが、このデモでは隣接するピクセルのレイの方向を表すrayDirectionXOffsetとrayDirectionYOffsetを使って計算しています。
For the derivative functions, An introduction to shader derivative functions is a great intro.
微分関数については、An introduction to shader derivative functions がとても良い導入になります。
To roughly understand what the code is doing, think in this way:
- The difference between
rayDirectionandrayDirectionXOffset(orYOffset) represents the change in ray directions from one pixel to the next. - To account for perspective, divide the ray directions by the y-components. A smaller y value indicates the camera is looking further away, so a slight directional difference can translate to a significant difference in world space.
- Multiplying by the
cameraPosition.yfactors in the distance between the camera and the floor. Similar to point 2, the further the camera, the greater the effect of directional differences becomes.pixelFootprintXandpixelFootprintYare approximations of the offsets in world space corresponding to the 1-pixel offsets in screen space. - Pass the
intersectionPointand these offsets to thecheckersGradBox(with a scaling based on how big you want the grid to be), and get a float value that represents which color the pixel belongs to, ranging from zero to one.
コードの動作を大まかに理解するには、以下のように考えてみましょう。
rayDirectionとrayDirectionXOffset(またはYOffset)の差は、隣接するピクセル間のレイの方向の変化を表します。- 遠近法を考慮するため、レイの向きのy成分で割ります。yの値が小さいほどカメラがより遠くを見ていることを示し、わずかな向きの違いが3D空間では大きな違いになります。
- カメラと床の間の距離を考慮するために、
cameraPosition.yを掛けます。上記と同じく、カメラが遠くなるほど、方向の違いの影響が大きくなります。pixelFootprintXとpixelFootprintYがスクリーン上での1ピクセルの移動に対応するワールド空間での移動距離の近似になります。 intersectionPointとこれらのオフセット値をcheckersGradBoxに渡して、ピクセルがどの色に属するかを表す0から1の範囲の浮動小数点値を取得します。(渡す前に、欲しいグリッドの大きさに合わせてスケーリングします)。
For the content of the checkersGradBox function, the original author of the shader, Inigo Quilez, has his own article about creating a checkerboard pattern. See this article for the details of the math.
checkersGradBox 関数の内容については、このシェーダーの原作者であるInigo Quilezが、チェック模様の生成に関する記事を書いています。数学的な詳細については、この記事を参照してください。
