Sky light 空からの光
// Sky light contribution.
if (uSkyEnabled) {
    float diffuse = sqrt(clamp(0.5 + 0.5 * normal.y, 0.0, 1.0));
    diffuse *= ambientOcclusion;
    float specular = smoothstep(-0.2, 0.2, reflectionDirection.y);
    specular *= diffuse;
    specular *= 0.04 + 0.96 * pow(clamp(1.0 + dot(normal, rayDirection), 0.0, 1.0), 5.0);
    specular *= uShadowEnabled ? calcSoftshadow(intersectionPoint, reflectionDirection, 0.02, 2.5) : 1.0;
    lighting += color * 0.60 * diffuse * vec3(0.40, 0.60, 1.15);
    lighting += 2.00 * specular * vec3(0.40, 0.60, 1.30) * specularStrength;
}
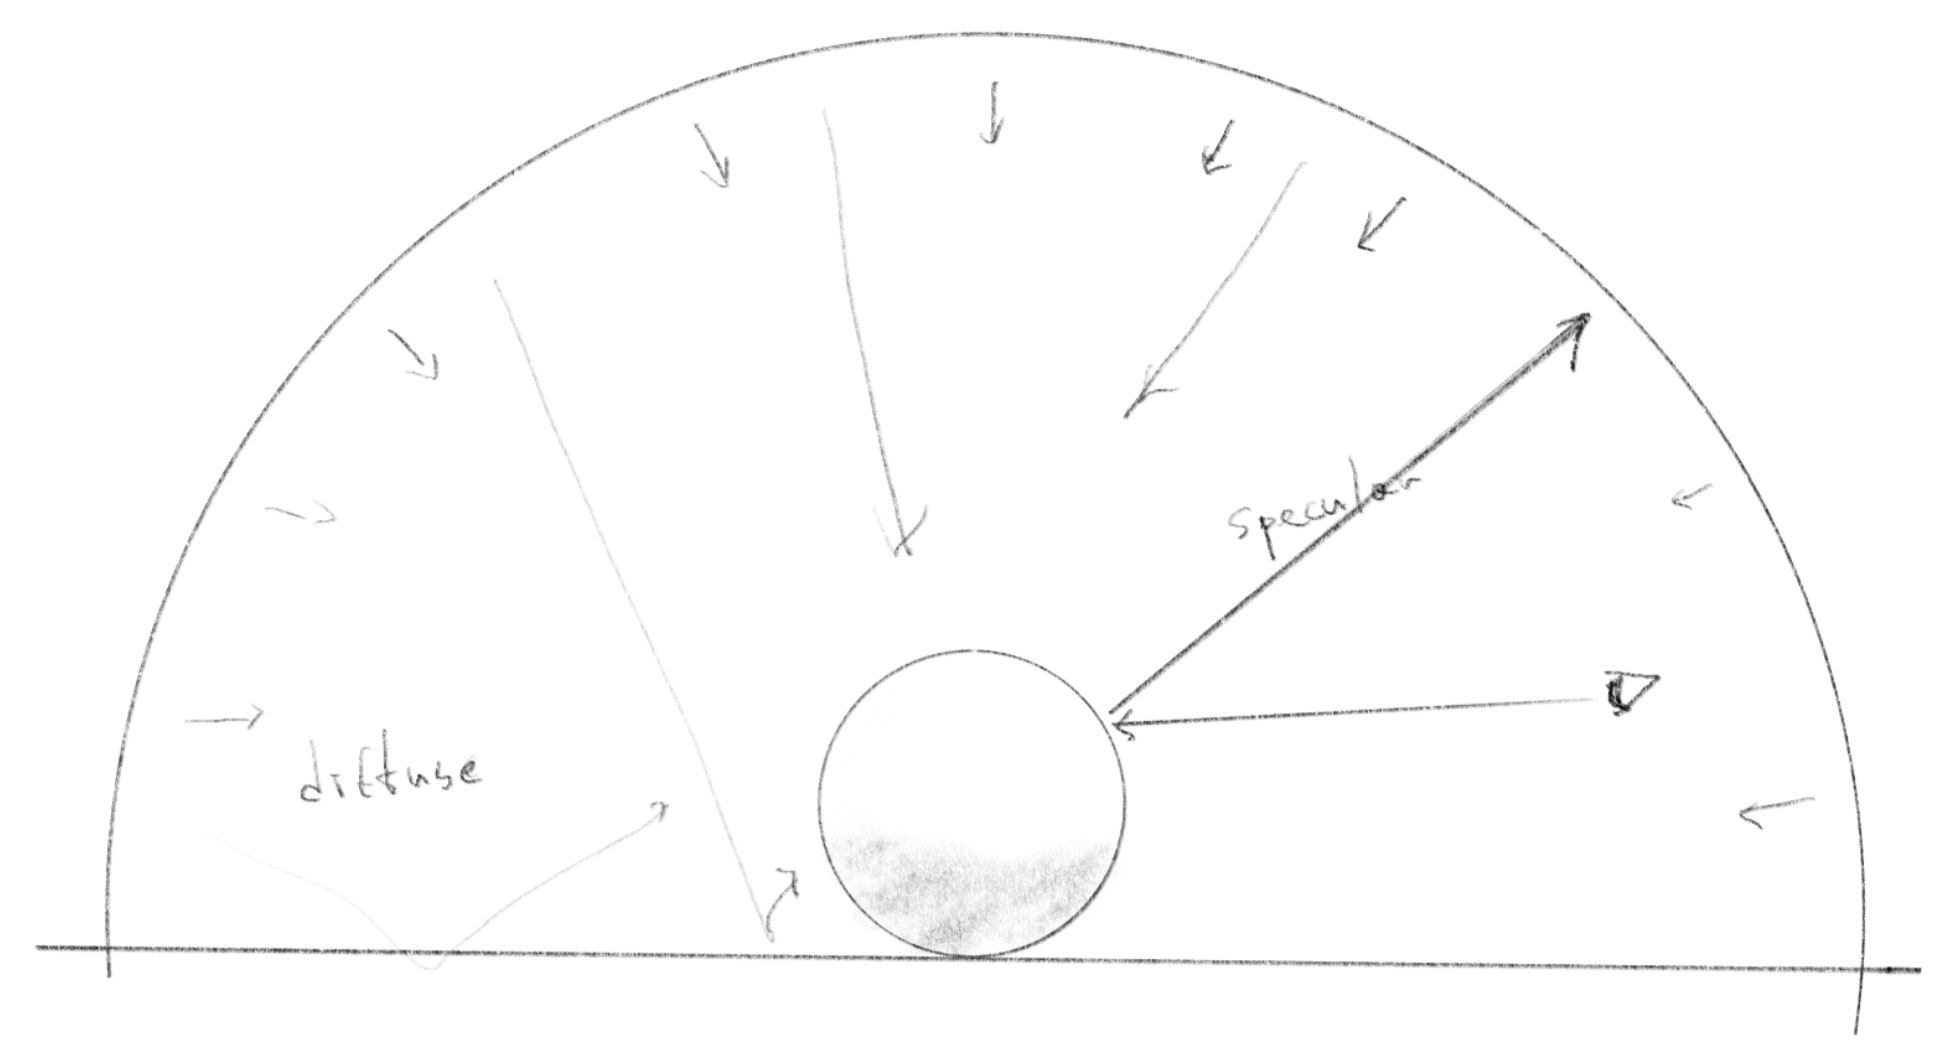
This section calculates the sky light’s contribution to the entire scene. The sky functions similarly to ambient light (See: Classic 3D Rendering 古典的 3D レンダリング), but since the sky is a half-dome positioned above the floor, it has a stronger effect on upward-facing surfaces.
このセクションは、空からの光がシーン全体に与える影響を計算します。空は環境光のように機能しますが(Classic 3D Rendering 古典的 3D レンダリングを参照)、床の上に位置する半球状の形のため、上向きの面により強い影響を与えます。
In the demo, try turning off everything other than the sky, then toggle the shadow on and off to see the effect of the sky light in isolation.
デモ上で Sky 以外のすべてをオフにしてから、影のオン/オフを切り替えて、空の光だけの効果を確認してみてください。
Diffuse light
ディフューズ(拡散光)
diffuse is calculated based on the y component of the normal. This line maps the normal.y value from -1.0 to 1.0 onto a range of 0.0 to 1.0 to represent the strength of diffuse reflection, creating a gradient.
diffuseは法線のy成分に基づいて計算されます。この行は-1.0から1.0の範囲の normal.y の値を、拡散反射の強度を表す0.0から1.0の範囲にマッピングして、グラデーションを作成します。
float diffuse = sqrt(clamp(0.5 + 0.5 * normal.y, 0.0, 1.0));
diffuse *= ambientOcclusion;
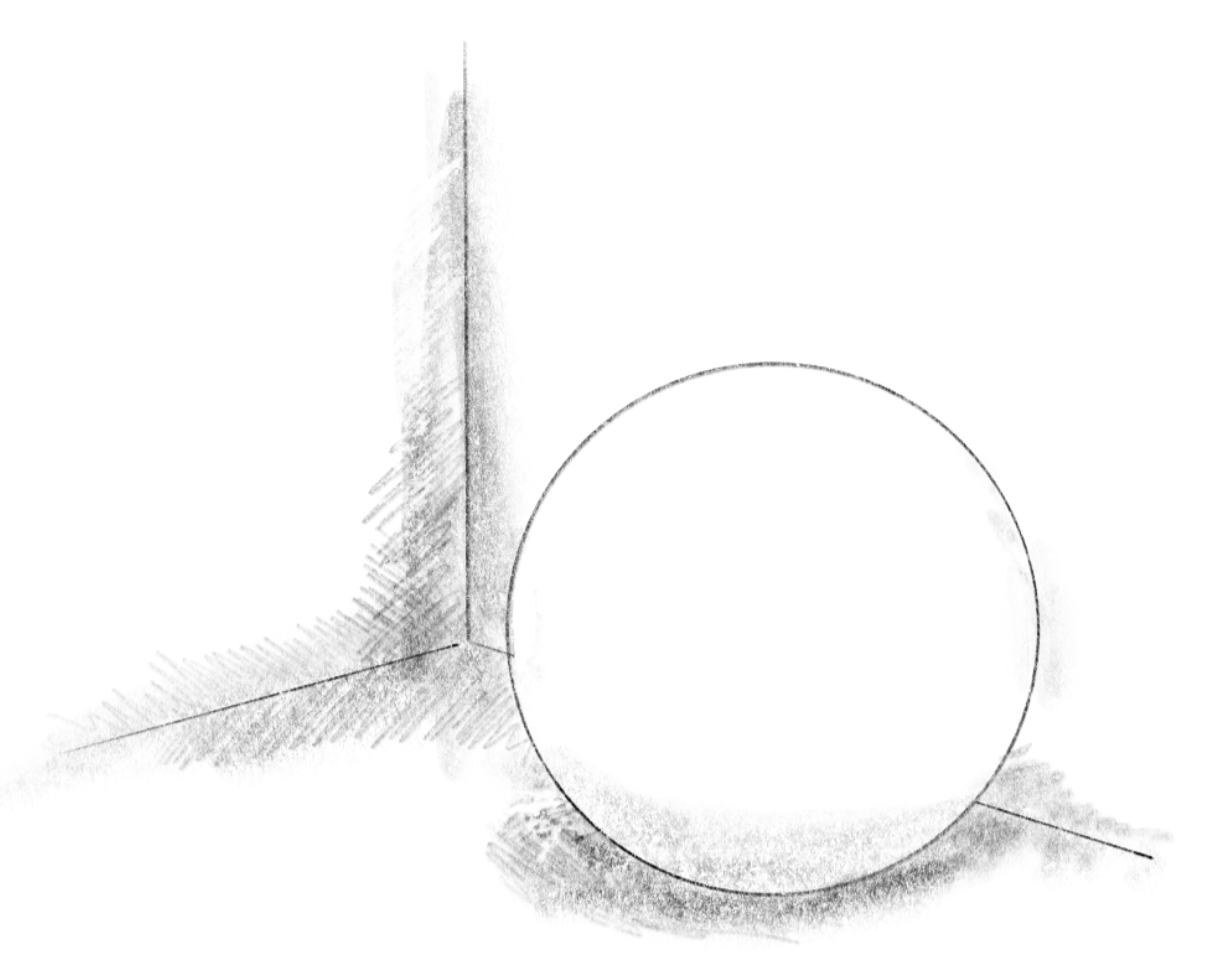
Then ambientOcclusion is multiplied by the diffuse. We will discuss this in detail on the next page. But roughly, ambient occlusion is about how much the surrounding geometry blocks light from reaching this point on the surface. This results in darker shading where surfaces are near other objects or in concave areas, like where a surface meets the floor or within crevices.
次に、ambientOcclusionが拡散光に掛け合わされます。これについては次のページで詳しく説明します。簡単に言うと、アンビエントオクルージョンは、周囲の形状が、ある表面上の点に光が到達するのをどれだけ遮っているかを表します。これによって、他のオブジェクトに近い場所や凹面の領域、例えば面が床と接する場所や割れ目のような形の部分がより暗くなります。
Specular reflection
スペキュラー(鏡面反射)
float specular = smoothstep(-0.2, 0.2, reflectionDirection.y);
This first line uses the direction of the ray reflected on the object’s surface to determine the region for the specular reflection. A y-component greater than zero means that the reflected ray is heading toward the sky, not the floor, thus the eye should see the reflection of the sky at that point. The smoothstep function feathers the edge of the reflection, emulating the roughness of the surface.
この最初の行は、オブジェクトの表面で反射されたレイの向きを使って、鏡面反射の領域を決定します。y成分が0より大きいということは、反射されたレイが床ではなく空に向かっていることを意味し、したがってその場所で空の反射が見えるはずです。smoothstep関数は反射の端をぼかすことで、表面の粗さを再現します。
Then, similar to the Sunlight 太陽光, the specular is multiplied by the diffuse, and the Fresnel effect is applied. Try commenting out the code after 0.04, you’ll clearly see what this part does.
次に、Sunlight 太陽光と同様に、specularにdiffuseを掛け合わせ、さらにフレネル効果を適用します。0.04以降のコードをコメントアウトしてみると、この部分が何をしているかがはっきりわかります。
specular *= diffuse;
specular *= 0.04 + 0.96 * pow(clamp(1.0 + dot(normal, rayDirection), 0.0, 1.0), 5.0);
Soft shadows are also applied to the sky light by using the reflected ray as the direction of the light source: This isn’t technically a shadow in the ordinary sense, but rather a check to see if other objects occlude the sky’s reflection. In effect, this produces a very pleasing result that looks like reflections of objects. See the Soft shadow ソフトシャドウ page for the details of calcSoftShadow function.
反射されたレイを光源の方向として、空の光にもソフトシャドウを適用します。これは普通に考える影というよりは、他のオブジェクトが空の反射を遮っているかどうかをチェックするものです。結果として、オブジェクトが映り込んでいるかのような非常に美しい効果が生まれます。calcSoftShadow 関数の詳細については、Soft shadow ソフトシャドウのページをご覧ください。
specular *= uShadowEnabled ? calcSoftshadow(intersectionPoint, reflectionDirection, 0.02, 2.5) : 1.0;
Color Tinting
色をつける
The last two lines add both the diffuse and specular components to the lighting. A bluish color, vec3(0.40, 0.60, 1.15), is used to give the impression of a clear sky.
最後の2行で、ディフューズとスペキュラーの両方の要素をライティングに加えます。青みがかった色、vec3(0.40, 0.60, 1.15)を使って、澄んだ空の印象を出しています。